Espresso Pucks
A Step-By-Step Puck Preparation Guide
The La Marzocco Home team often receives enquiries of “What should my espresso puck look like?” There’s a science to preparing an espresso puck, and the quality of the espresso is influenced by several factors related to puck preparation, including dose, distribution, tamping, and grind size. Here’s a detailed look at the variables to focus on to keep your espresso tasting great and your espresso puck manageable and evenly extracted.
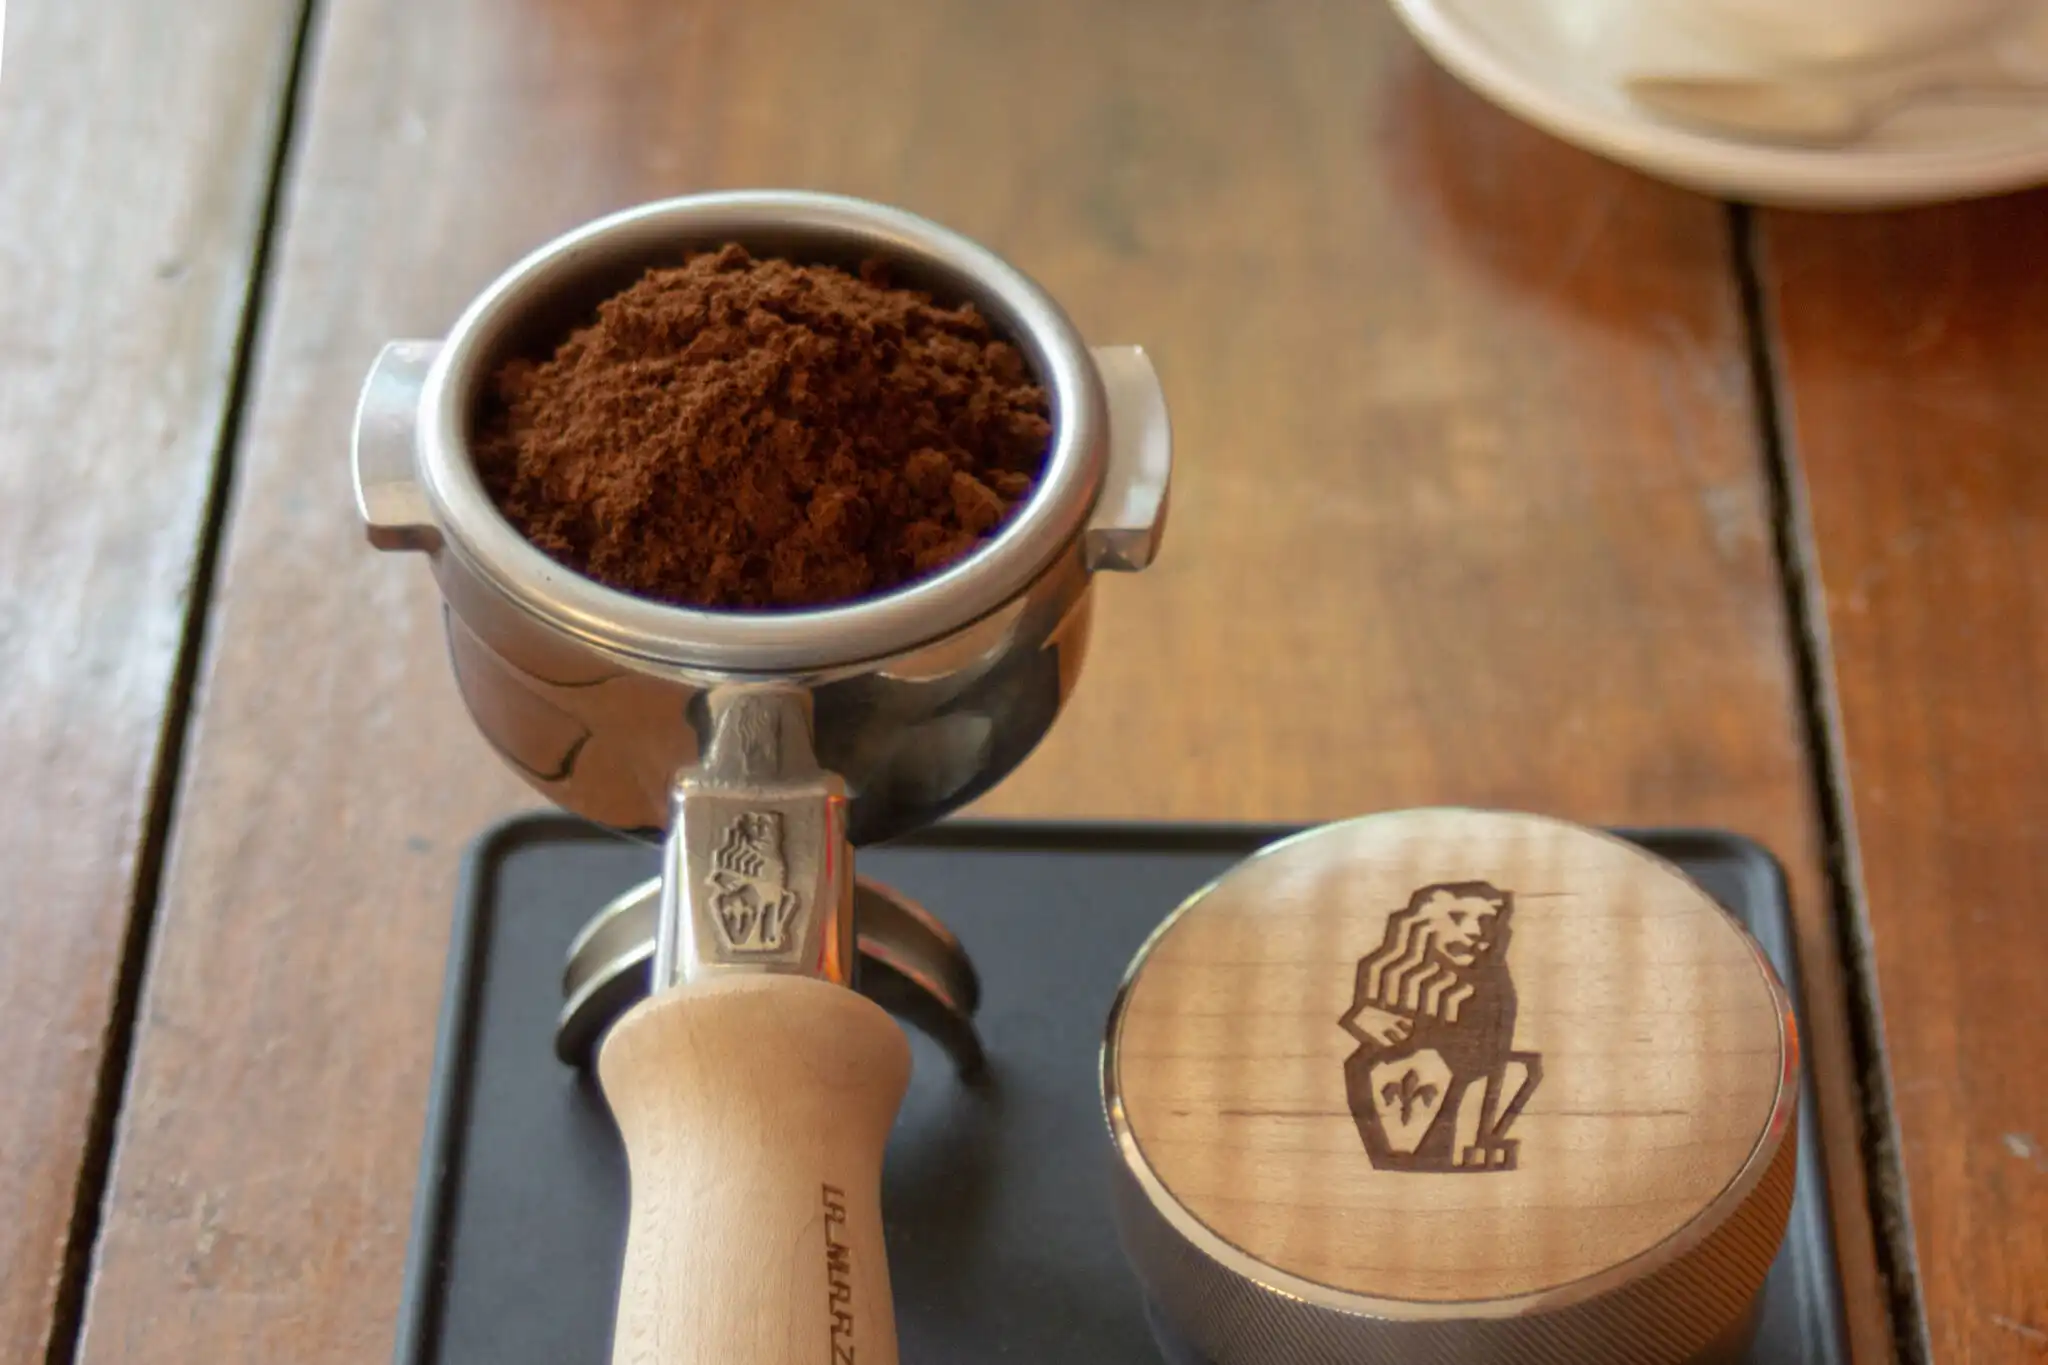
1. Dose
Locking In The Coffee Dose
How much coffee goes into the basket? The amount of coffee grinds used in a shot should closely match the number marked on the side of the filter basket. For example, when making a double shot of espresso, use the 17-gram basket and put 16-18 grams of coffee into it. Avoid too much space or too little space between the puck and the dispersion screen inside the group head of the machine. Find your dose and keep it consistent while dialling in the coffee.
Note: The impression of the group head screw should not be seen in the puck before water has been run through it. If the portafilter is inserted into the machine but removed before starting the espresso and there’s an indentation in the center, there may be too much coffee in the basket or the grind size might not be fine enough. The puck will swell after the shot is finished, so seeing the screw’s impression afterward is okay.
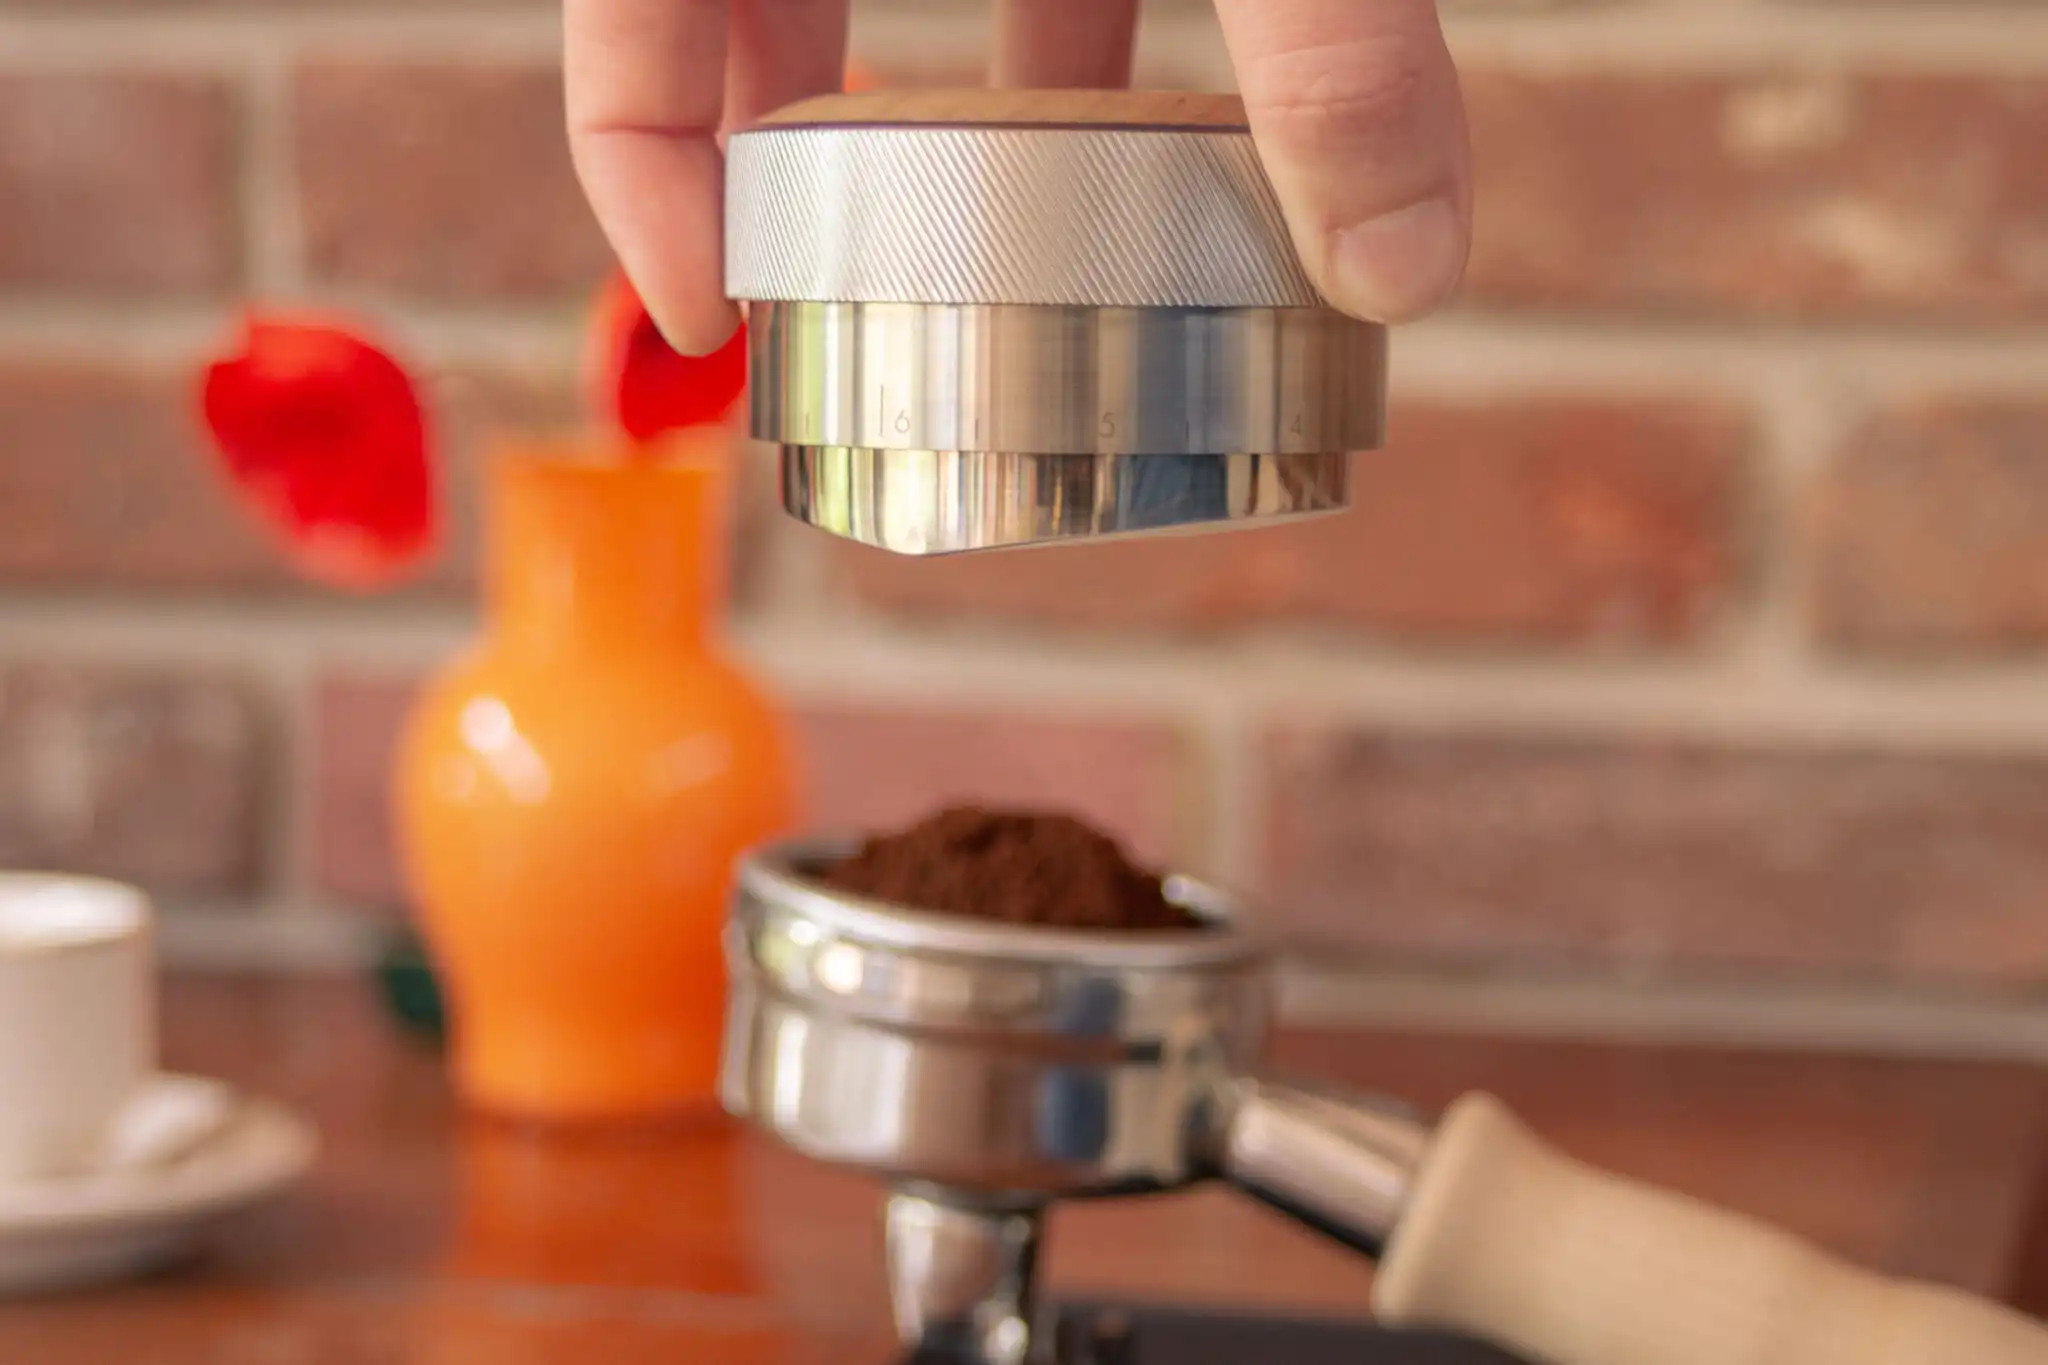
2. Distribution & Tamping
Find a Repeatable Method
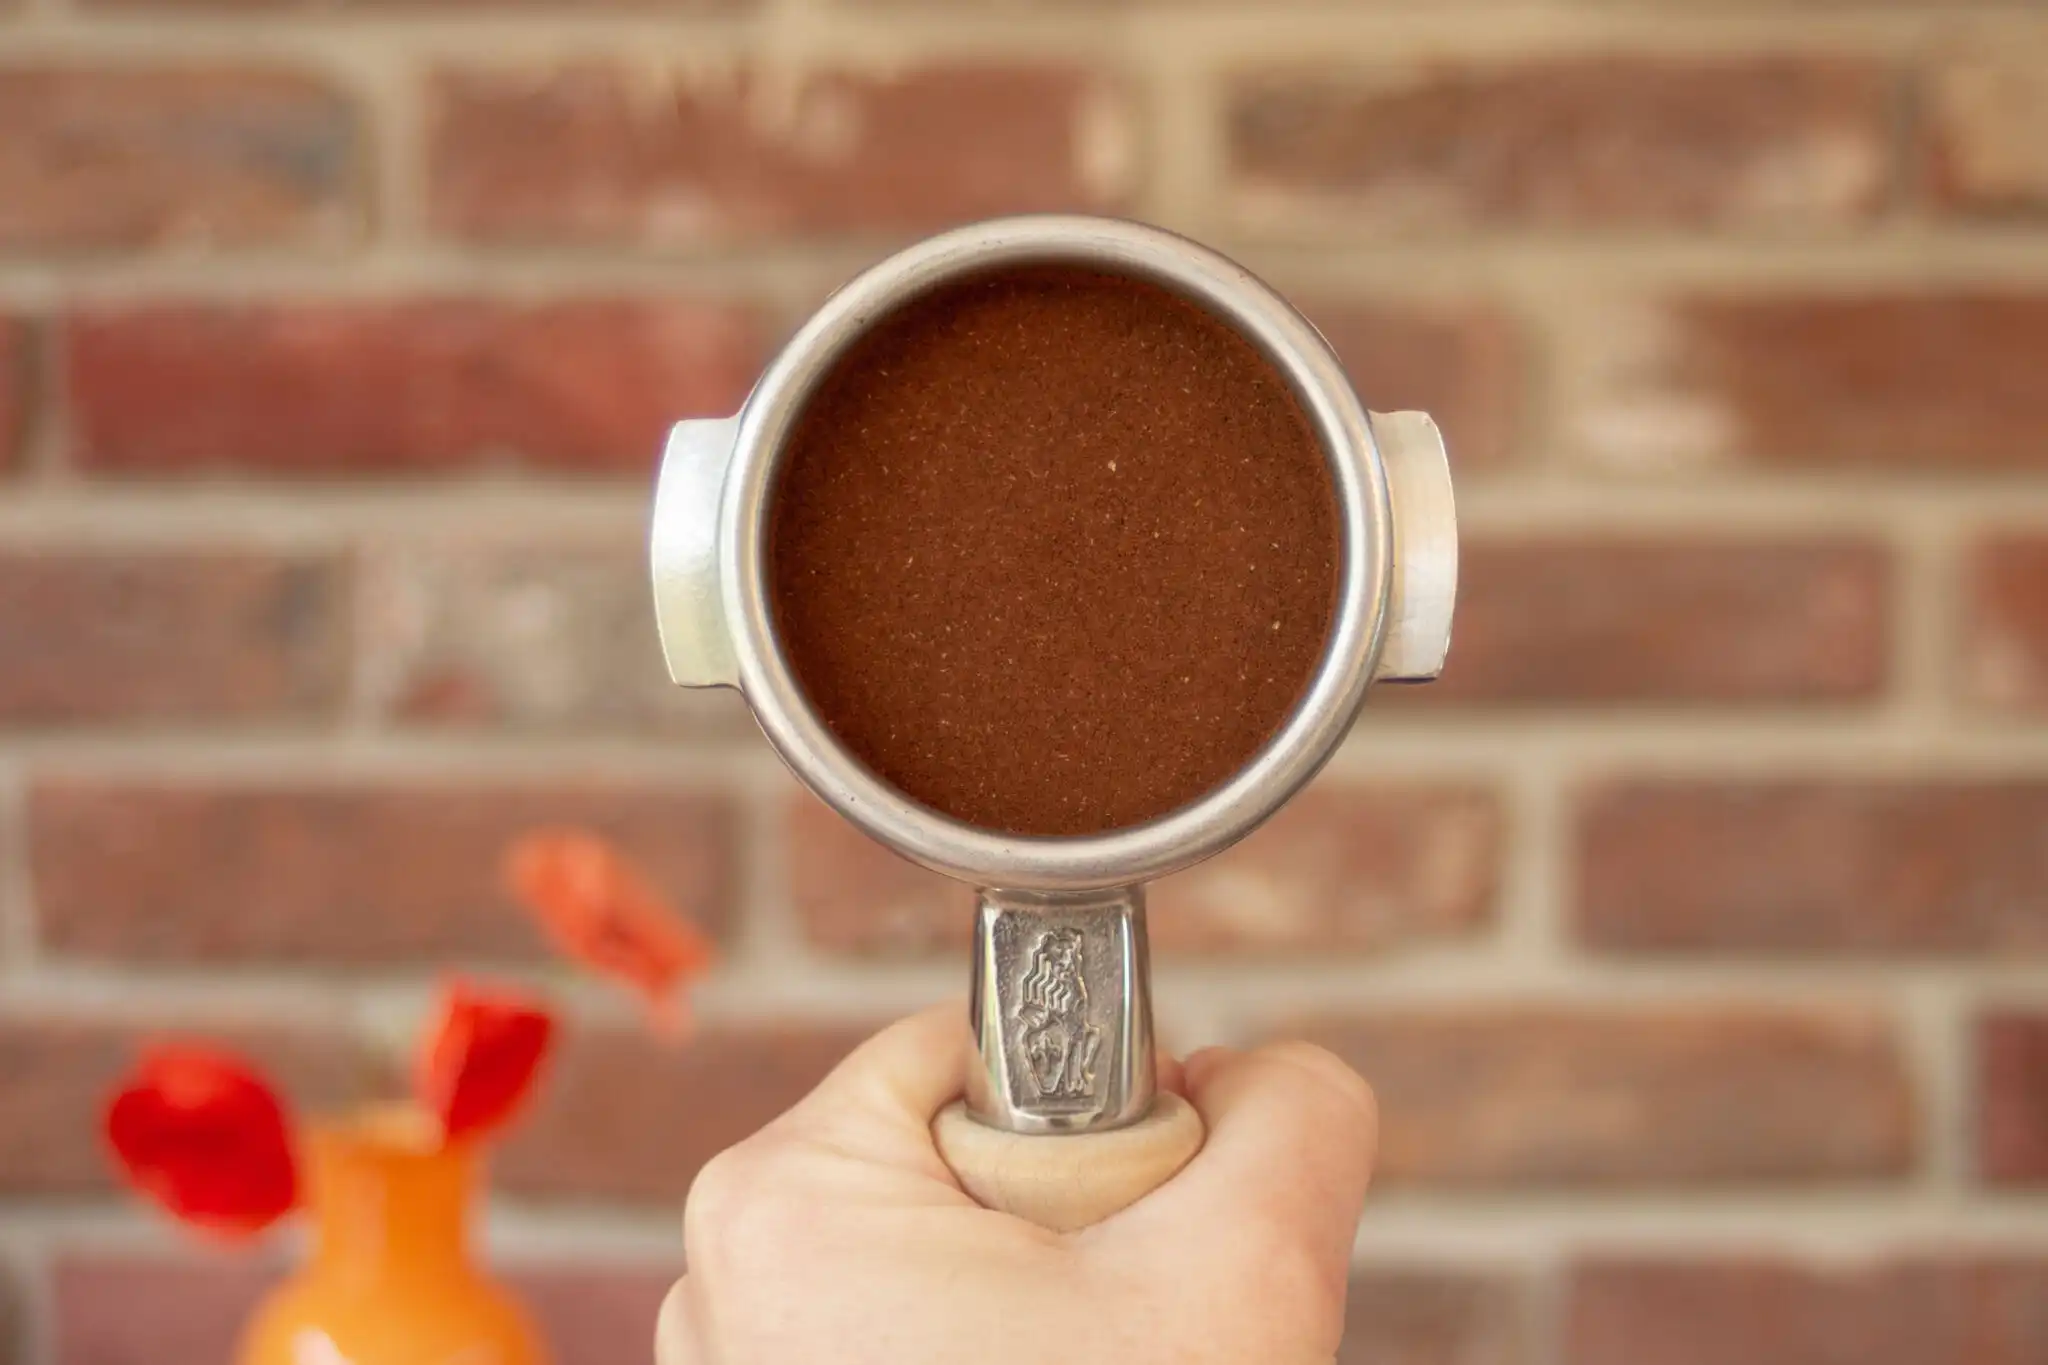
Tamping compresses the coffee grounds to create a uniform puck, which is essential for a well-extracted espresso shot. A puck should always appear perfectly flat before water is pushed through it. An uneven distribution of grounds can create air pockets in the puck. The air pockets are what creates channeling—where water finds small paths of least resistance instead of moving through the puck evenly. Not only can this result in a messy espresso shot, when excessive, it can affect the taste of the espresso due to uneven extraction.
When tamping, ensure that the coffee puck is smooth, with no holes or spaces around the edges. Using a distribution tool or the finger-distribution method before tamping can help achieve an even spread of grounds before compressing them. Tamp the puck down below the inner line that runs along the basket. The goal is to make the surface flat and compress the air out, pushing the puck below the indicator line. Focus on having consistency when tamping to achieve the best results with each shot.
3. Grind Size
The Variable that Changes
A dedicated espresso grinder that provides a uniform particle size is needed for brewing yummy espresso. Wildly uneven grind size can lead to a wildly uneven extraction, where some parts of the puck are over-extracted (bitter) and others are under-extracted (sour). The best grinders are burr grinders made specifically for espresso.
Grind size affects the surface area of the coffee exposed to water. Finer grinds have a larger surface area, leading to faster extraction and more resistance in the flow rate. Where coarser grinds have a smaller surface area, extract more slowly, and have less resistance in the flow rate.
The ideal grind size for espresso falls within what we lovingly refer to as “the espresso zone”—fine enough to provide the right resistance for espresso. This zone allows for a grind size that is small enough to extract the sugars, but large enough to allow water to flow consistently without extracting too many bitters. Outside of the espresso zone, the grind can be too coarse, letting the water pass through quickly, resulting in an under-extracted espresso that lacks richness and depth. If the grind is too fine, the water might not push through at all, causing over-extraction and leading to a harsh flavor profile.
The flow of espresso not only impacts the taste but also influences the appearance of the puck after the shot is finished. Pucks that fall within “the espresso zone” often stick together nicely, while too-coarse grinds will fall apart and be messy. Using a timer to measure the brewing duration is necessary for maintaining consistency. Start the timer as soon as the paddle is moved to the brewing position. When working with a new coffee, aim for a brewing timeframe of 25-35 seconds, then make small adjustments based on taste to fine-tune the extraction.
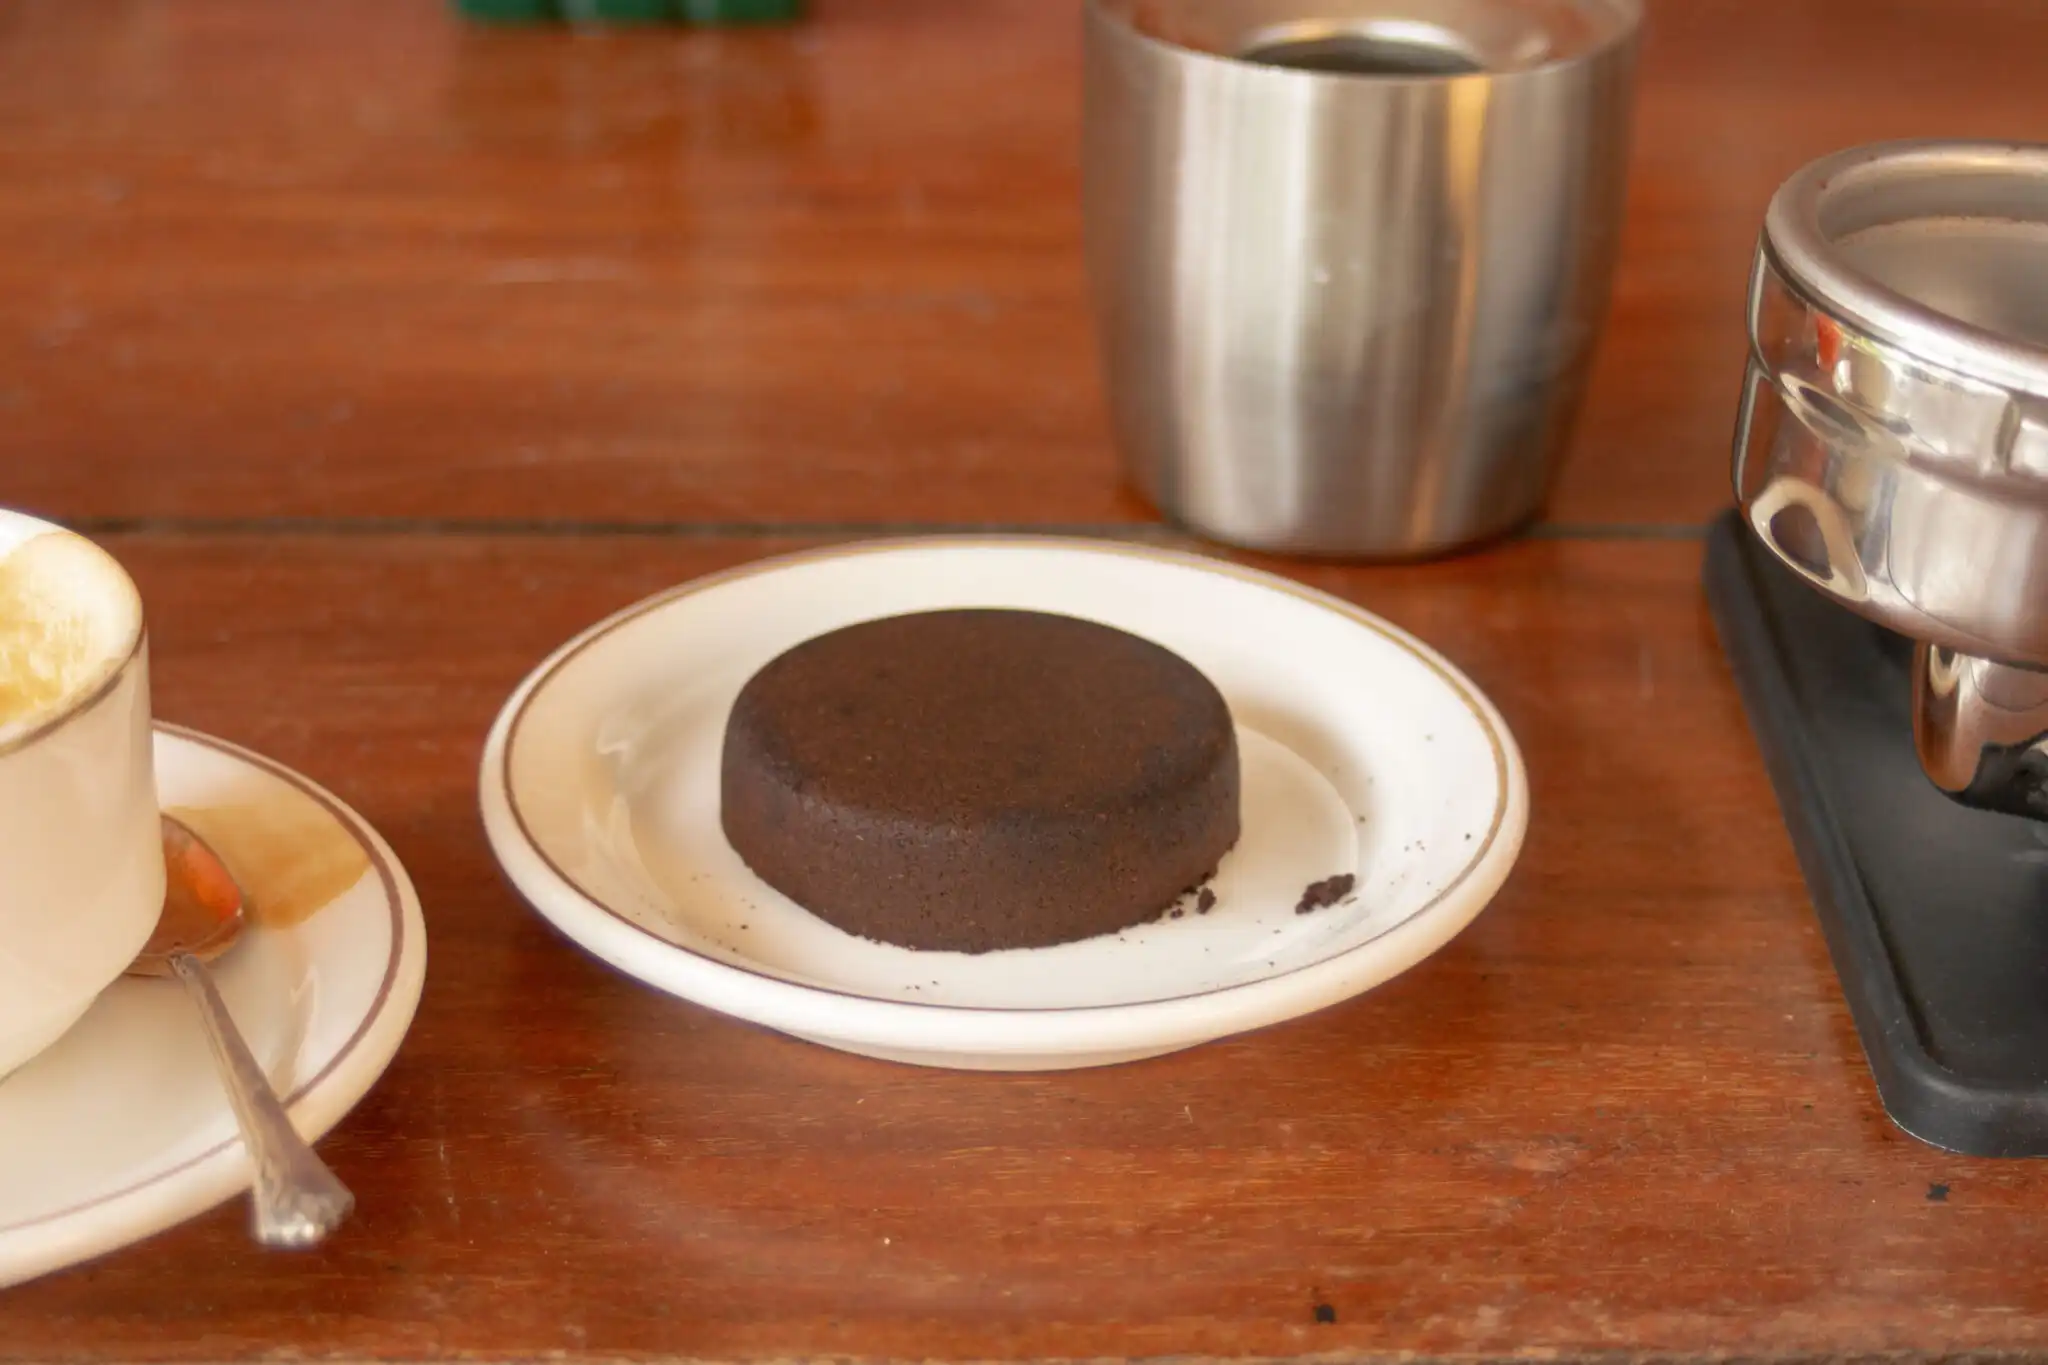
Messy espresso Puck?
The optimal puck is evenly compacted and slightly moist. However, factors such as the type of roast or the age of the coffee might contribute to a strange-looking puck after brewing. You may notice a particularly “soggy” or messy puck, or perhaps the puck is sticking to the screen after removing the portafilter. There’s nothing wrong with this happening—as long as the espresso tastes good—but making some adjustments can help mitigate the mess.
Tips for a Cleaner espresso Puck:
- Freshness of Coffee Beans: Check that the coffee has been roasted recently. If the coffee is over one month past the roast date, the espresso and resulting puck may look a bit odd. The best results will be with coffee roasted within 1-2 weeks.
- Brewing Time: Time the espresso shot to see if the water is pushing through too fast or slow. For example, if it takes only 10 seconds to brew 1 oz of espresso, it’s going to be messy. Making the grind size finer will slow it down, giving a more syrupy espresso and a cleaner puck. Aim for 25-30 seconds for a medium to dark roast coffee and 35-45 seconds for a lighter roasted coffee.
By perfecting these preparation details, we can ensure that our espresso pucks are being well-prepared, leading to consistently great-tasting espresso.


You must be logged in to post a comment.